3D Files
CAD Files: You can download all the files from our Patreon post, for free! If you can spare some bucks, you can support us by donating.
The download includes the following:
- All STL files needed for the printed parts: Follow the print materials and colors shown in the print part list, which you can find in the Bill of Materials.
- A complete STEP file of the assembly and all its parts in position:
- Use this to view the assembly in 3D.
- Use individual STEP files for components if you want to alter or change geometrical features (e.g., upgrades, tolerance fixes, etc.).
- A ready-to-go slice file compatible with ORCA slicer, called "FinalBuildShroomy". This file includes all components placed on the build plate and oriented and sliced with the correct settings. It also shows which filaments are needed. Make sure to double-check that these filaments are correct by referring to the materials in the Bill of Materials print list. Additionally, ensure the correct slots/filaments in your AMS are assigned.
Printing Guidelines
Standard print settings are ok:
- infill: 20%
- wall count: 3
- Top and bottom layers: 4
Optional (for better print quality):
- Switch to 0.16mm layer height
- Enable precise walls
- Enable precise z-height
Other part-specific details are in table.
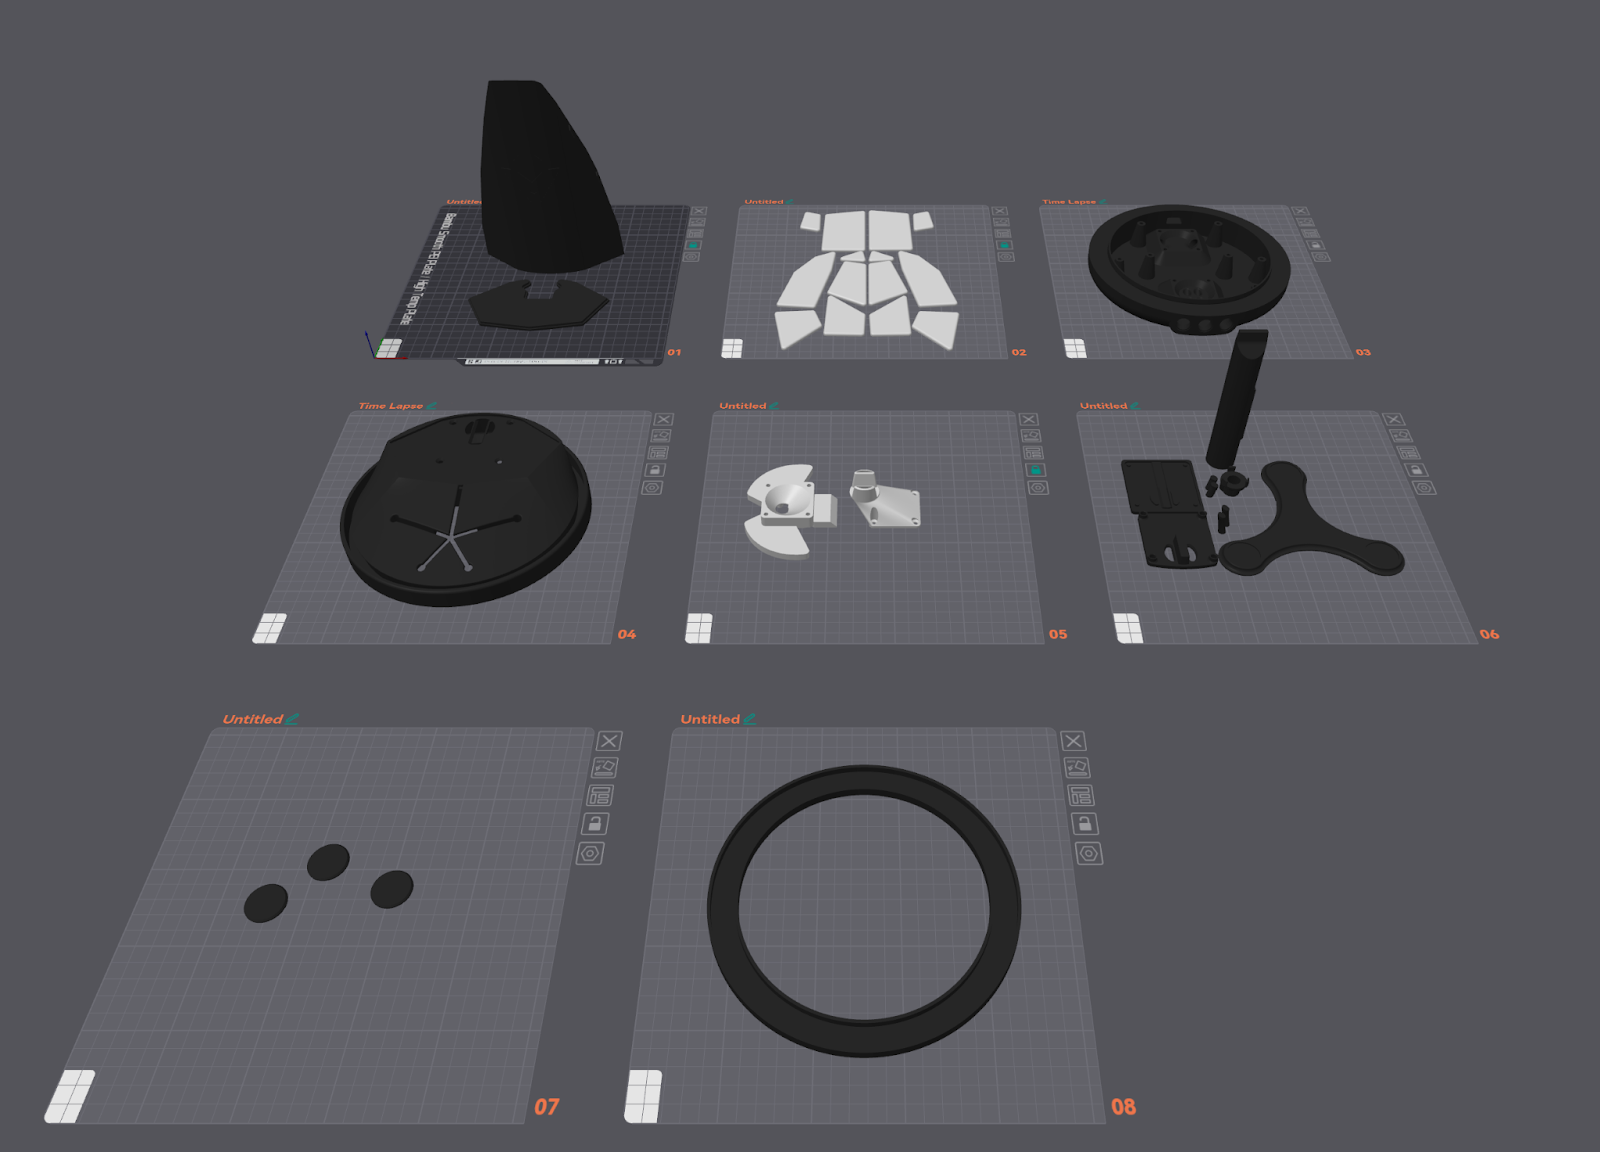
Note: Some of the parts coordinate systems are off. Do not blindly place them in your slicer and press print. It is important that you orient the parts in a logical way (minimise needed support, maximise bed contact surface) The correct orientations are shown in the ready-to-go slicefile "FinalBuildShroomy". If you don't have Orca slicer or Bambu slicer and can't open this file, here are the recommended orientations:
4. Cad files & printing